


The 5 steps to a good sewing machine maintenance
I have a confession to make ... I'm not good at maintenance and clean up. I'm really not the type to clean my workshop every night when I finish my day of work. I neglect my tools and my machines a little. I don't know how long it's been since I sharpened my scissors. And it took years before I realized that it wouldn't be a bad idea to oil my sewing machine on occasion.
I know. Shame on me …
So if you've never oiled your sewing machine, and you’re a little ashamed right now, don’t worry. It’s clearly not me who’s gonna judge you.
But, I can guide you through a (well-deserved) little cleaning of your sewing machine, though. What do you think?
Here are 5 main steps for a good maintenance of your sewing machine:
1 - general dusting
The first step is dusting. It may sound obvious, but it's still important.
It is clear that if you don't really have a workshop and your sewing machine goes back and forth a lot between the closet and the kitchen table, you won't have so much dust (or you will think more easily of dusting it). But if your machine always stays in the same place, it's possible that it collects dust on the sly, when you're not watching.
And at one point, you'll work with a pretty white fabric... And that's the moment that all the dust particules will decide, by mutual agreement, to transfer (and become firmly embedded) in the beautiful, immaculate fabric...
So, if you don,t want that to happen to you, run a cloth all over your machine, and then vacuum the hollows and cracks.
It is a good habit to regularly dust the corners of your sewing machine.


2 - cleaning around the bobbin
In this case, a little cleaning around the bobbin case is necessary.
Not all sewing machines are the same. Depending on the machine models, the parts that come off are not all the same: in my case, I have 3 parts that I can remove easily. But you may just be able to remove the bobbin case.
Either way, remove what you can, and use a brush to clean out all the nooks and crannies. I recommend that you manually (and slowly) run your machine so that the parts move and you can go everywhere.


3 - cleaning under the plate
Has it ever happened to you that your fabric sticks in your machine, and when you manage to remove it, there are like clumps of dust (and even threads) of improbable colors that come with it?
(I really hope I'm not the only one that's happened before ...)
This is because there are some really hard to reach corners on a sewing machine. And it's easy to overlook them when doing a rough cleaning.
For a good cleaning, take the time to remove the plate under the foot to clean underneath. You will have better access between the fed dog (the small rail that grip on your fabric).
On my machine, the plate comes off easily (I have to remove it to remove my bobbin case), but you may need a small screwdriver.
Once the plate is removed (I recommend removing the foot and needle for better access), be sure to clean all around the feed dog and in the hole.


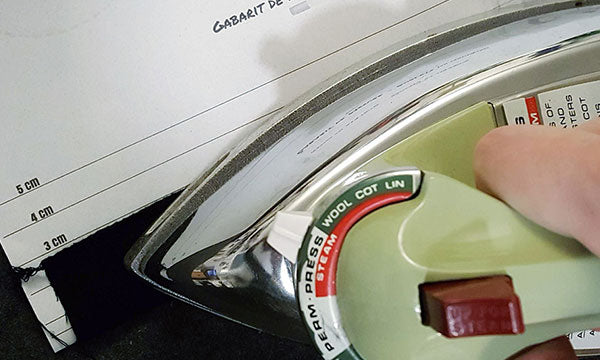
4 - the oiling
.