


Cutting your pattern
Or how to place your pattern pieces on your fabric for efficient cutting.
How to cut fabric… it looks so obvious, right? But do you really know how to go about it? How to place your fabric? How to position your pattern pieces on it?
Maybe you have the basics. Or maybe you didn't even know there were rules to follow...
Some patterns come with a fairly detailed plan on how to place your pattern pieces on your fabric yardage. Others don't... My patterns don't come with a plan. Why? Simply because I find it much more important that you understand how it works rather than following a blind plan that may not be perfectly suited to the width of your fabric.
So, if you want to know what to do no matter what fabric you have on hand, follow me, I'll give you some tips. Because you can use an old curtain or buy a super fancy fabric, the techniques are always the same.
Before you begin:
First, before you even start, you have to prepare your fabric. If you don't know what to do, take a look at my article: Prepare your fabric before you start. It's very important to prepare your fabric, so don't skip this step!
The 4 golden rules:
📌 Fold your fabric in 2, right sides together.
That's the base (there are a few exceptions, but we'll come back to that)
Most patterns (the symmetrical ones at least) just have one “front” pattern piece, one “back” pattern piece, etc. But to make your garment, you want 2 fabric pieces (because you have a right side and a left side), right? And that's what your pattern piece will tell you : "cut 2". So you are going to fold your fabric in 2, bringing your selvage together, right sides together. This way, you will trace on the wrong side of your fabric and when you cut, each pattern piece will be cut 2 times, mirrored.
There are also some pieces that must be placed on the fold of the fabric. Generally, pieces like “center front”, “center back”, etc. You'll easily spot them by the fabric fold symbol (usually accompanied by the words "fabric fold" or something similar). On those pieces, you'll see "cut 1". So you just want one fabric piece, but you want it to be symmetrical.
So, place the pieces with a “fabric fold” symbol, against the fold of the fabric. Make sure to put your piece right at the edge, and DO NOT cut along the fold line! It's a fold, not a cut.
📌 Place large pieces first
It's just like anything else... When you go on vacation and you fill your car trunk, you start with the biggest pieces, those that have a little incongruous shapes, right?
The same goes for placing pattern pieces.
Start with the bigger pieces, those who have a bit of a weird shape, to be sure you can fit them all. Don't forget to place your pieces with a fabric fold too, you just have the one fold, use it right.
Once the large parts are positioned, fill in the holes with the smaller ones. Move the piece around a bit to make sure everything fits well, and you don't loose to much space.
📌 Follow the grainline!
Parallel to the edge. Pa. Ra. Llel.
The big line on your pattern piece is the grainline. This big line there, you have to place it parallel to the edge of your fabric.
Why is that so important? Because if not, your garment will skew.
What does that mean?
You've probably already bought a cheap t-shirt. And after a few washes (sometimes even the first!), the shirt starts to twist and one of the side seam goes forward, and your t-shirt feels a little crooked… You know what I'm talking about, right?
It also happened to me with pants. And it looks kinda bad when it happens.
And it's all because the pieces are badly placed on the fabric. The pieces are placed quickly, are placed crooked, and they deform over time.
If you don't want that to happen, place your pattern pieces straight, making sure the grainline on your pattern is parallel to the edge of your fabric.
📌 Mark your notches!
A super important step, which many people skip (I confess, even I often forget to mark them… but, do as I say, not as I do! 😅)
There are several ways to mark your notches.
I just prefer to make a small cut in my fabric. Some prefer to make a kind of small triangle that sticks out (because it's more visible).
Do what feels right, as long as you do it and can find the notches easily when comes sewing time.
Notches are super important to make sure you put the right parts together. Making sure you put them together in the right direction. And the right way.
With these 4 basic rules, you should be good to start. That being said, it's like with anything else, there are exceptions, special cases, details to take into consideration.
And what happens if...
📌 Your pattern pieces are too wide
If your pieces are so wide that they don't fit on your fabric folded in half, what do you do?
It happens with very loose models or larger sizes, or if your fabric is really narow (or all of the above).
In this case, you will have no choice, and will have to cut your pieces one by one, on your opened fabric. Be careful, as your fabric will not be folded in 2, you will only cut one side at a time. So, don't forget to turn your pattern over to cut the 2nd fabirc piece mirrored (and therefore, have a left side and a right side).
📌 Your fabric is stretchy
In general, it doesn't matter if your fabric is stretchy or not... unless the direction in which it stretches is not "standard". Let me explain :
Normally, stretch fabrics (whether a knit or a fabric containing spandex) stretches in the weft direction (perpendicular to the grain). In this case, everything is ok, because this is the way you want your garment to stretch.
But sometimes, you will end up with a fabric that stretches in the grainline (or warp). In this case, it's better to put your pieces completely perpendicular to the grain. Because you want your finished garment to be stretch in the sense that it matters.
Some patterns made for stretch fabric will have a "stretch this way" arrow. It may help you find the best way to position your pattern pieces.
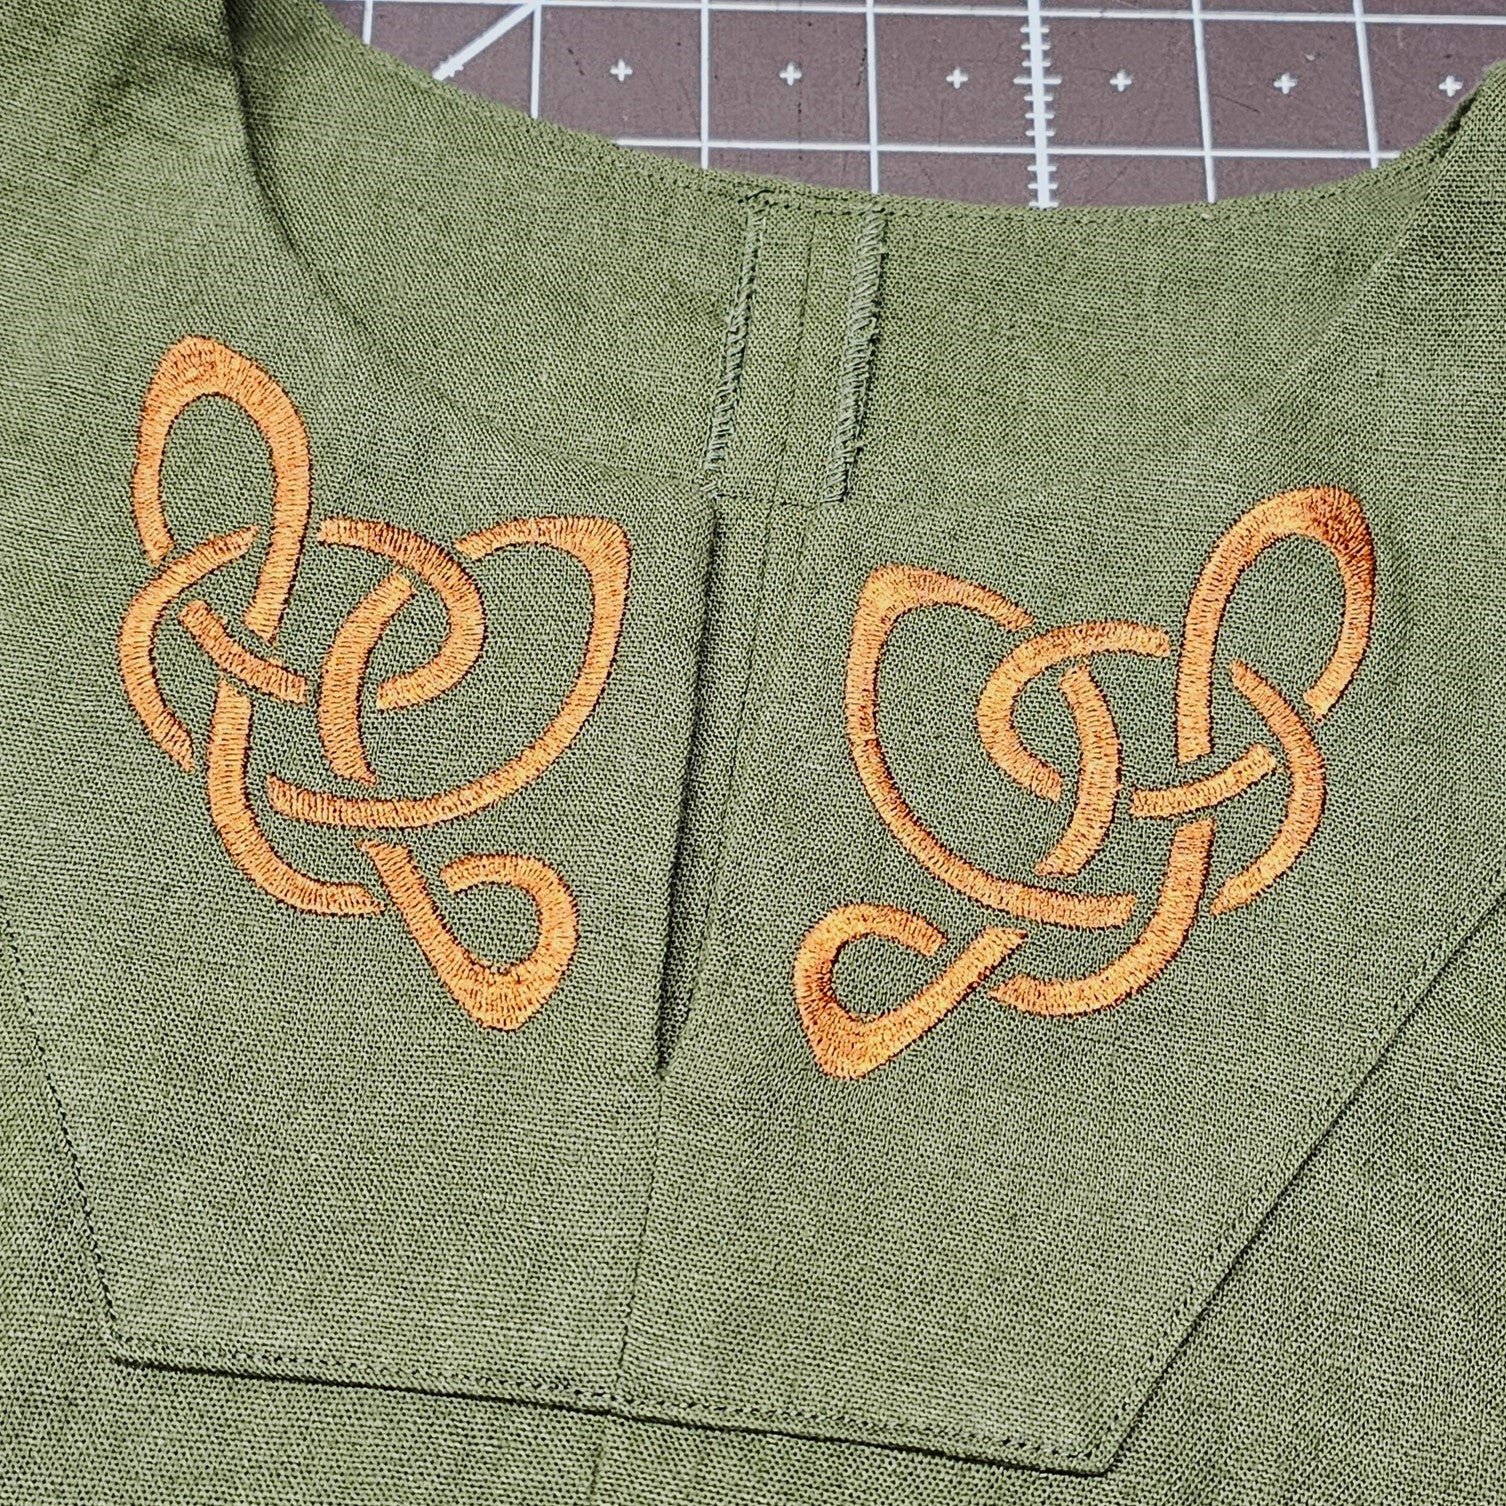
📌 Your model is asymmetrical
With an asymmetrical model, you have to be careful! Especially because the annotations are not the same everywhere. Most often, you will see the mention «R.S.Up» (for Right Side Up).
That means that you will have to place the pattern pieces right side up, on your fabric right side up too. If you put a pattern piece upside down, you'll cut it on the wrong way, and your pattern won't work.
Technically, if you do this for all the pattern pieces, your pattern will work, but it will mirror the design shown on the pattern.
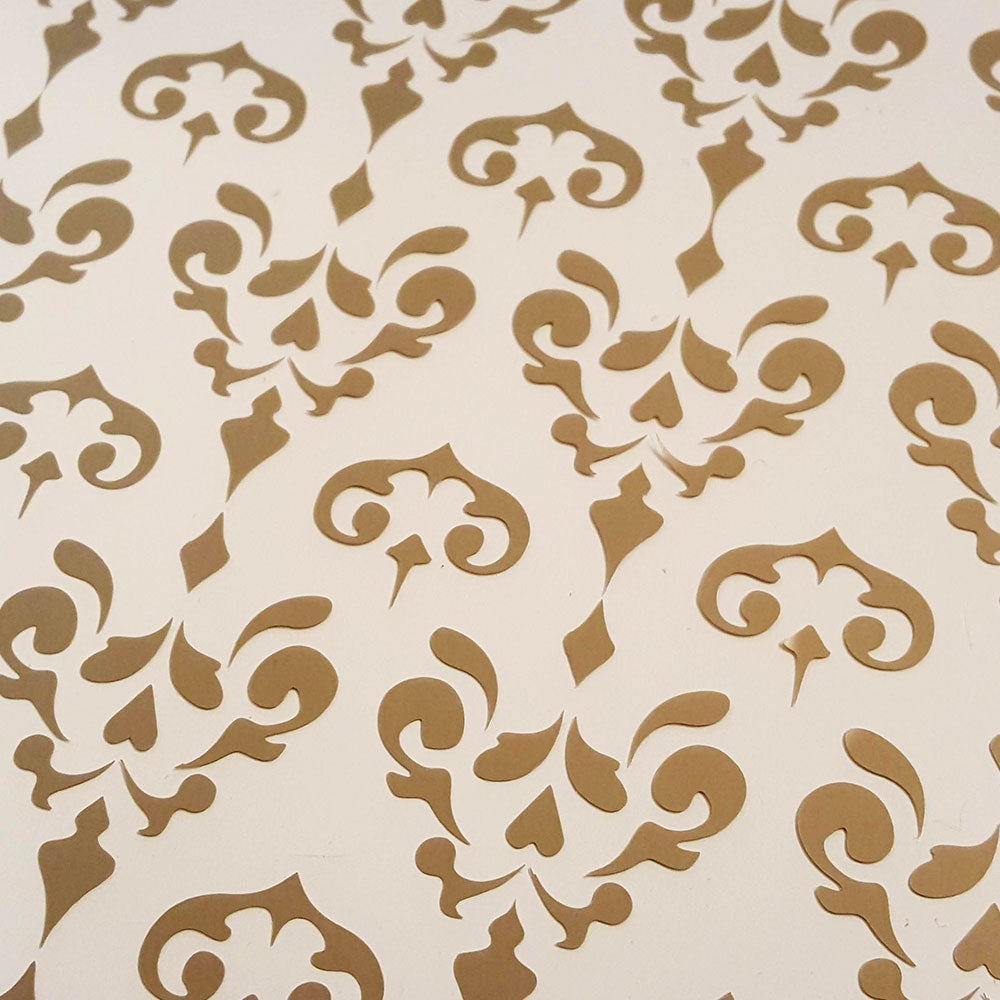
📌 Your fabric has a pattern or texture
If you're working with a fabric that has nap, whether it's a regular pattern that works just one way, or a texture like fur or a shimmering effect, you're going to have to make sure you place all the pieces in the same direction. No upside down piece to save fabric here! The top of the pattern pieces must all point in the same direction.
Unfortunately, not all patterns come with an easy reference point, but generally, the direction of the writing should help. If not, the grainline arrow points down on most pattern brand.
When in doubt, take a look at your procedure to see how the pieces will be sewn and make sure you put everything in the right way. You don't want to end up with a panel of your velvet jacket that is soft in the wrong direction, right?
More tips:
📌 Cut the selvage
Some stretch fabrics tend to shrink at the selvage. Simply cut it off. This will make positionning your fabric much easier.
It happens more often on stretchy fabrics... But if your fabric is acting up, whatever it is: notch, cut, trim... do what you must to get everything flat.
📌 place everything before cutting
Sometimes it can be a little complicated... but if you can, place all your pattern pieces before cutting anything. That way, you will be sure that everything fits well in your yardage and that you have no unnecessary loss.
📌 stripes, tartans and more
Stripes are a bit tricky, because you want it to look good when you put your garment together. 3 details to remember:
- Always buy a bit more fabric. The extra amount needed varies and really depends on the size of the type of desing, but also on how lucky you are when placing your pattern pieces on your yardage.
- Fold in the center of the design. If you have large vertical stripes, be sure to fold your fabric in the center of one of the stripes. If it's a checkered pattern, fold in the center of the shape... even if it's not the center of your fabric. This way, you make sure to keep a nice symmetrical look to your garment. If your pattern doesn't line up with the center of your garment, it might look a little out of phase.
- Cut one layer of fabric at a time. To be sure that your fabric is perfectly positionned, it's better to cut the top layer, then reposition your fabric if necessary, and cut the other layer. It's definitely longer, but it does a better job.
📌 perpendicular cheat
Yes! You have the right to cheat… for certain things.
For example, if your pattern pieces are super wide and you can't place them in the classic way (with your fabric folded in 2 on the grainline), you can fold your fabric in the other direction (on the weft instead of the warp). But make sure of a few things:
- Check that your fabric allows it. If there's a pattern or texture, it might be a little dodgy...
- Make sure to put the pattern pieces perfectly perpendicular to the selvadge. You still want to prevent it from deforming.
- Do not forget the pieces on the fold of the fabric. By folding your fabric in the other direction, you will have a much shorter fold. If you have several pieces to place on the fabric fold, there will potentially be a little placement gymnastics to do (you can cut your yardage in 2 and fold both pieces to get more of that precious fold, for exemple).
📌 Mark your grainline on the back of your pattern pieces
It is quite possible to flip your pattern piece face down so that it fits better on your fabric yardage (provided it is not an asymmetrical model, of course). The main problem is that you will not see the inscriptions on the pattern anymore. To easily transfer your grainline, fold your pattern on the long arrow. This will mark the paper and make the grainline visible on both side of the pattern. This is a super easy way to mark the grainline on the back of the pattern piece.
Tracing and cutting
Now that you understand how to position your pattern…
📌 How do I make the pattern pieces hold?
If you are working with a pattern printed on tissue paper (like Simplicity, Burda, McCalls…), you can pin the pieces to your fabric. The paper is super thin, it works well that way.
But otherwise, you're probably working with a PDF pattern that you printed at home (or at a copy center). Which means it will be too thick to pin without distorting everything.
The best is to work with weights. Anything, as long as it's heavy enough to hold your pattern pieces in place.
I'm going to be super honest with you, I very often work with improvised weights: my sharpening block, my stapler, my cell phone...
But you can find stuff that will be dedicated to holding down pattern pieces. This way, you won't waste too much time looking for something to keep your pattern in place.
📌 What do I trace my pieces with?
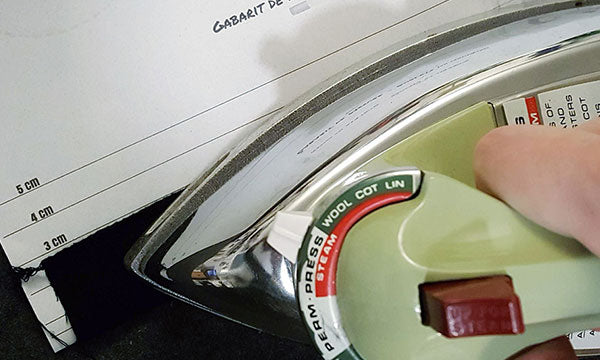
Personally, I like wax-based tailor chalk. It's not expensive, it marks well, you can sharpen it with an exacto (which I always have on hand) and erase it with steam (my iron is also pretty much always on hand).
Though, for pale fabrics, I like to use a simple lead pencil. There's always one around, it makes a clean line, and it's easy to wash off.
But there are plenty of other tools:
- talc chalk (which generally erases with friction)
- friction pens (which fade with heat)
- water soluble pens (which erases with water)
- washable Crayola markers (if you have kids, you probably already have some at home!)
📌 Cut with scissors or rotary cutter?
I recommend to start with the scissors. Get yourself good fabric scissors (which will be completely dedicated to fabrics!) and start with that.
Good scissors will do the job for pretty much any fabric.
On the other hand, the rotary cutter is good for delicate fabrics. You know, those who move just because you looked at them sideways. Those who slip a lot. Those that are more difficult to handle. Little warning! Make sure to combine your rotary cutter with a large cutting mat, because you don't want to dull the blade of your rotary cutter on your first project, right?
The rotary cutter is a little more difficult to handle, but can save you time when you have a lot of stuff to cut. So it's a good addition to your sewing arsenal, but not necessarily a priority.
Voilà!
You should now be ready to easily place and cut your pattern pieces onto your fabric, without too much trouble, and start your next project. 🙂
Happy sewing!